


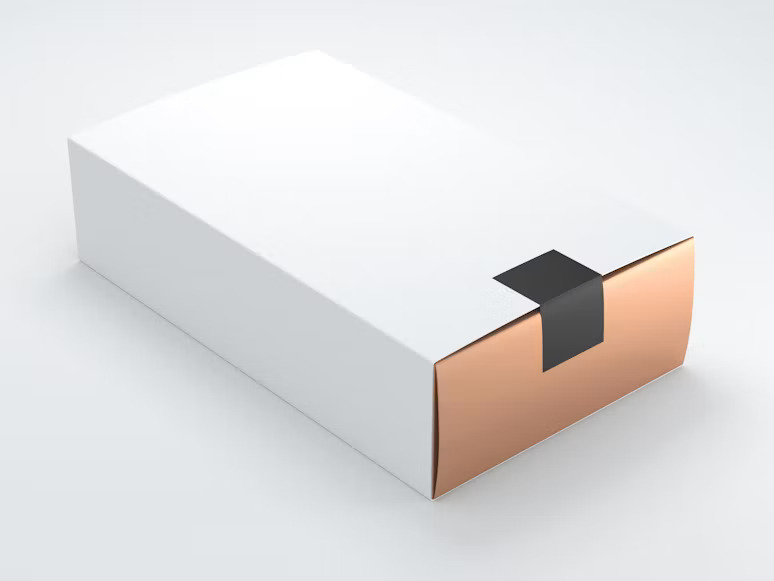
Two identical products next to each other in a store are inevitably treated differently. Although they are priced the same and have similar designs, one is bought and one sits alone. An explanation comes from the buyer that they simply liked one of the designs more than the other, which is almost assuredly untrue.
Decision making is so fast in the buying process that it is most likely the finishing that won them over.
Finishing is the last step in a production line, and when brands rush finishing, they often tell the printer, “make it look good.” The information below about packaging printing finishes lists what each of them does, at what cost, and in what situations they should be used.
Start with the Board
If the finishing is going to be the last step, then the board is the first and has to be the foundation. Without a solid board, finishing cannot save the packaging.
The board type is measured in GSM. A general range for board strength is 300-350. However, anything below 250 GSM will result in a packaging that will be perceived as low quality.
The type of board matters as well. Uncoated paper has a more textured look, but muted colors. Coated board has prints that really pop, however most of the time these boards just look dull.
The biggest hidden cost with premium packaging is finishing. If you get all of the board aspects correct, then you are set.
The Six Finishes You Should Know
-
Matte and gloss lamination
Matte and gloss lamination are your base layers. Everything else goes over that.
Matte softens light and gives a finished touch to a product. It looks calm and modern. This appeals to brands in the beauty, wellness, and premium food markets the most.
Gloss makes colors appear more vibrant. It’s also effective at drawing attention to the product on a busy shelf. This is why sweets, toys, and impulse buys draw the most from gloss lamination.
The decision between matte and gloss lamination finishes is not about which one looks best. It is based on your category, the other elements you plan on adding, and where you will position your product on the shelf.
-
Spot UV
This takes a matte lamination and adds a varnish to select areas of the packaging. The treated part will stand out as glossy and the rest of the packaging will remain flat.
Over matte, spot UV is an excellent and cost effective way to elevate a basic packaging.
spot UV packaging finish should always be done in moderation. Because spot UV packaging lacks contrast amongst unfinished areas, a large area treated with spot UV loses its effect.
-
Foil stamping
Metallic foils are pressed into board using a die, heat and pressure. The usual finishes are gold and silver, however other metallic finishes like copper, rose gold, and holographic can also be used.
The cost of a metallic foil die is recoverable. Therefore,foil printing on packaging is more economical for large quantities and pricing increases for short runs.
Foil stamped packaging and paper goods is great for elevating a simple packaging.
-
Embossing and Debossing
To get a sunken or raised shape respectively press part of the board up or down. Like the human body recognizes shapes through touch and not through sight, this technique on a logo works wonders.
Use this alongside foil and you get the high end packaging printing that most people relate to luxury packaging printing.
-
Soft-touch coating
This technique gives a totally velvety surface that changes the entire feel of the box. Often used in skincare and electronics.
One thing to note is that it is easy to mar (scratch) and especially shows fingerprints, more on darker colors, so be careful with how you plan to ship and shelf your product.
-
Textured coatings
There is raised gloss, sandpaper varnish, and pearl finishes that have texture without the need for a die. So if you are looking for a middle ground option then this is a good choice.
Know When to Stop
The biggest issue is not using the wrong finish, it is using too many.
Foil, spot UV, embossing and soft-touch on one panel do not equal more expensive, they equal busy.
In almost every situation the types of packaging finishes bet is simple: matte lamination as the base, one accent finish on the logo, and that’s it. It stays on budget and still looks intentional.
What It Costs
Standard lamination costs almost nothing and spot UV has a low per unit cost with the benefit of a plate as opposed to a die. Coatings cost more than spot UV and again, soft-touch finishes are the next tier. Foil and emboss stands above all others in cost, but the per unit cost drops with quantity.
In custom packaging printing, get creative and spend money on the premium finish that the customer sees when the box is opened and leave the other sides plain, as nothing is appreciated as the backside/bottom of a package.
A cardinal rule: do not approve run until you see physical samples made with actual production materials. Textured stock and foil, for example, act quite differently from one another. A spot UV that is matte will not show as such on gloss. A screen proof will not show any of this.
Final Thoughts
Increased spend does not automatically correlate with premium finish. Expensive packaging is the right finish at the right place and knowing when to stop.
Initialize board with a proper weight. Add lamination according to your category. Use one eye-catching lamination and accent. Be still, despite the printer’s sample book.
Your audience will make the value judgment of your product, and consider your premium pricing justified.
Frequently Asked Questions
-
Which finish makes packaging look most expensive?
Foil embossing is the strongest single effect. But matte lamination with one spot UV accent gets you close for far less money, and often suits modern brands better.
-
What GSM should I use for premium boxes?
Between 300 and 350. Boxes will bend under 250 GSM. If you have to save money, put that money toward the board weight and finishes.
-
Matte or gloss – which is better?
Neither, universally. Matte works with beauty, wellness, and gourmet food. Gloss works with sweets and mass-market products that need to grab attention. Matte is also a better base for spot UV. -
Why is foil stamping so expensive?
Because it has a custom metal die that also has a heating step that finishes the stamping process. Since that cost is fixed, it’s less expensive on large print runs. Ask your printer at what point the cost is less.
-
Can I use several finishes on one box?
Yes, but it doesn’t look as nice. Multiple finishes on one panel will compete for attention. Use a matte base, with one finish on the logo.
-
Does soft-touch coating scratch?
Yes, especially on darker colors. Think before using this finishing touch if your packaging is going to be subjected to a lot of travel, or think before using this on an open shelf.
-
Do I really need physical samples?
Yes, always. A finish will always behave differently on different boards, and no screen proof will show you this. Get a sample on your actual stock.
-
Where should I spend a limited budget?
Spend on the panel your customers will see first. Get the board and base lamination correct on everything else, then add that finishing touch only to the front panel.