

What Happens Before Your Notebook Even Reaches a Press?
Most people think printing is just pressing a button. You send a file. A machine whirs. Notebooks appear. Not quite. I've been in this factory since the 90s, and I can tell you — the real work happens before the ink even touches paper.
The industrial printing workflow explained step-by-step starts with a conversation that most buyers skip. You tell me you want 10,000 notebooks. I ask: what paper? What ruling? Stitched or spiral? And nine times out of ten, you haven't thought about half of it.
The workflow is basically five stages: pre-press, plate making, printing (offset or digital), binding, and finishing. Each stage has landmines. And I'll walk you through every single one so you don't end up with a pallet of unusable notebooks.
If that sounds like something you need, feel free to check how we handle it at Sri Rama Notebooks.
Stage 1: Pre-Press — Where Mistakes Get Caught (or Not)
This is the part nobody sees. The designer sends a PDF. Our pre-press guy — Ravi, been with us 22 years — opens it on a calibrated monitor. He checks bleeds. He checks spine width. He checks if the text is actually embedded or just a screenshot that looks like text.
I remember once a client sent a file with their logo at 72 DPI. Looked fine on their phone. We printed a proof. Looked like a potato. That was a tense phone call.
- Bleeds must be 3mm minimum on all sides
- All fonts must be converted to outlines or embedded
- Color mode must be CMYK — not RGB
- Spine width depends on page count and paper GSM
The pre-press stage is where we make a plate — or for digital runs, we just queue the file. But here's the thing: skipping a proper proof is like ordering a suit without measurements. You'll get something. Will it fit? Probably not.
Expert Insight
I was talking to an old friend who runs a print shop in Vijayawada last year. He told me about a government tender he lost because the client's file had a single missing bleed. Two lakh rupees worth of order. Gone. He said: “The machine doesn't care about your deadline. It prints exactly what you give it.” I think about that more than I'd like to admit.
The question isn't whether your file looks good on screen. It's whether it survives the machine.
Stage 2: Plate Making & Offset Printing — The Heavy Lifting
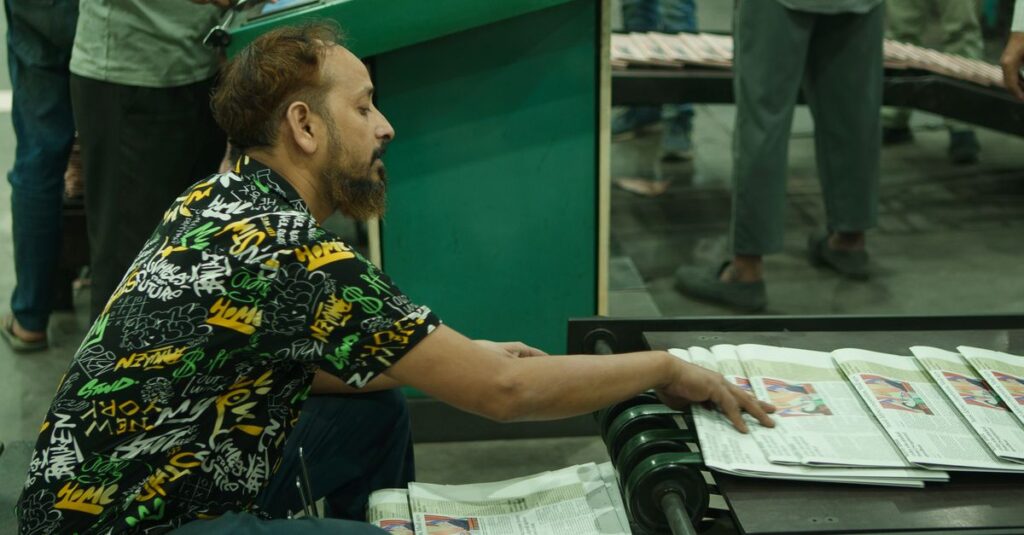
Offset printing is still the workhorse for bulk notebook orders. Digital is faster for short runs. But for 10,000 notebooks? Offset. Every time.
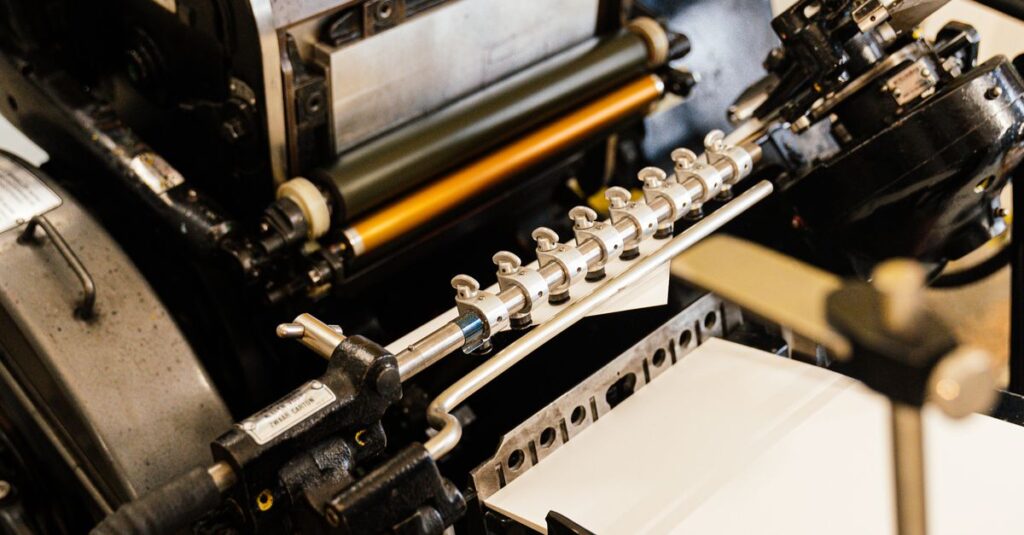
Here, the plate is mounted on a cylinder. Ink and water don't mix — that's the whole trick. The image transfers from plate to a rubber blanket, then to paper. It sounds complicated because it is. But the result is sharp, consistent, and cost-effective at scale.
Something nobody tells you: the first 200 sheets off the press are usually waste. Registration adjustments. Color balancing. The machine isn't being difficult — it's settling into the job.
I remember a client from Dubai who asked why we couldn't just use the first copy. I explained. He didn't believe me. So I showed him. He believed me after that.
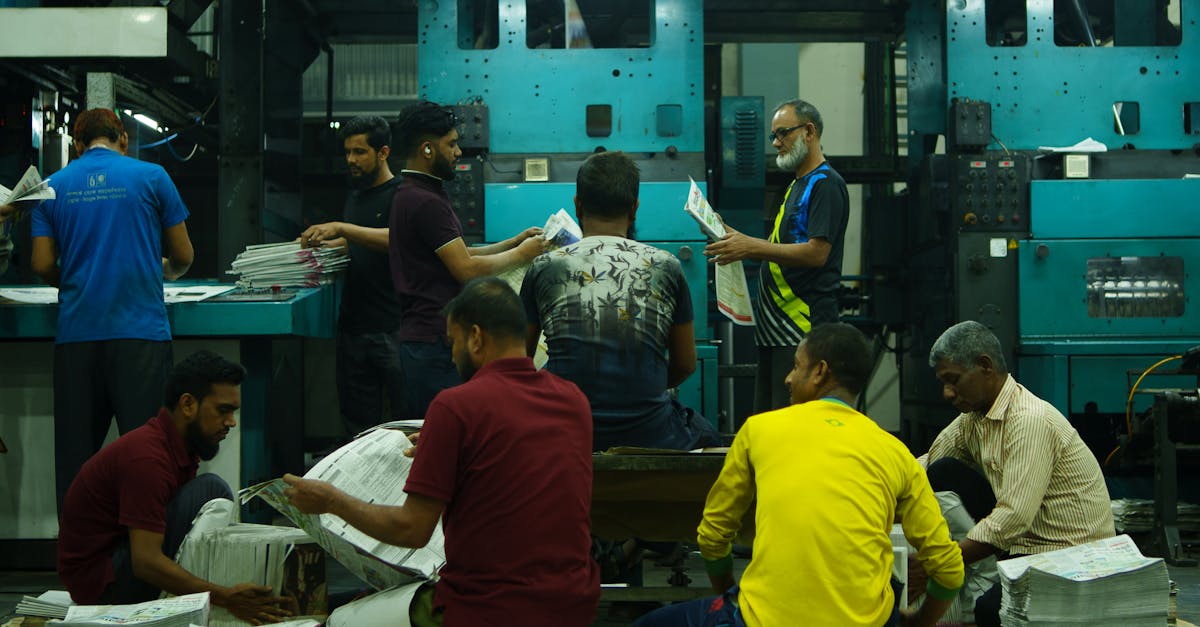
At Sri Rama Notebooks, we run offset presses that handle 30,000–40,000 units daily. Our printing services are built for bulk consistency, not just speed.
Stage 3: Binding — The Part That Makes or Breaks a Notebook
You can have the best print quality in the world. If the binding fails on day three, the notebook is useless.
We do three types:
| Binding Type | Best For | What Can Go Wrong |
|---|---|---|
| Stitched (Saddle or Section) | School notebooks, long use | Stitches can loosen if thread quality is poor |
| Spiral | Corporate diaries, notepads | Coils can bend if wire gauge is too thin |
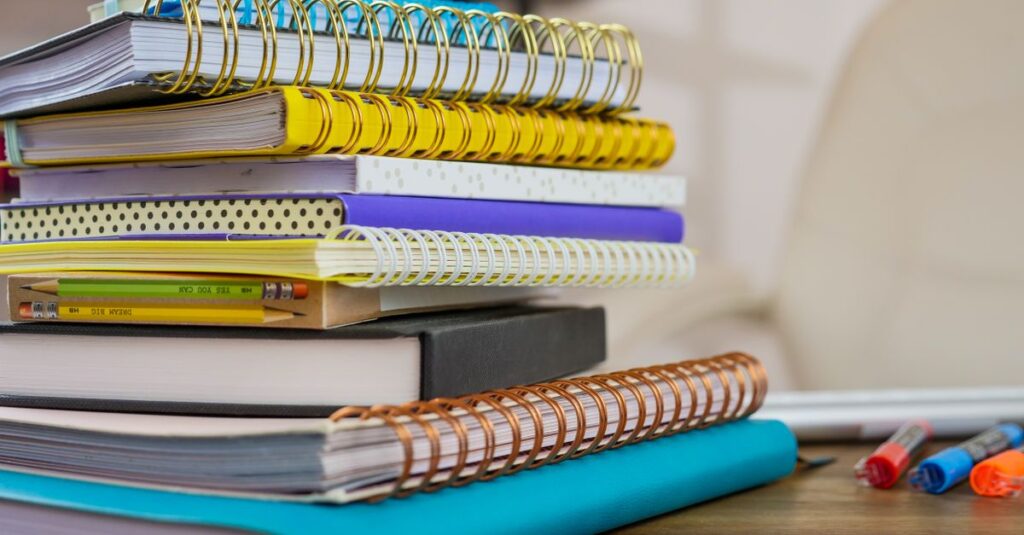
| Perfect Binding | Account books, thick notebooks | Glue can crack in dry climates |
Most people don't think about climate. I've had notebooks shipped to Africa that came loose because the glue didn't handle the heat. We changed our adhesive formula after that. Live and learn.
Anyway. The binding stage is where speed kills quality. A machine running too fast skips glue coverage. Operators who rush miss misaligned covers. That's why we still do spot checks every 15 minutes.
I don't have a perfect answer for which binding is best. It depends on your climate, your use case, and your budget. But if someone tells you one size fits all, walk away.
Stage 4: Cutting & Finishing — Where Perfectionism Pays Off
After binding, notebooks come out in stacks. They look almost done. But the edges are rough. Covers might be slightly misaligned. This is where guillotine cutters trim everything to final size.
Three things happen here:
- Three-knife trimming — cuts top, bottom, and front edge in one go
- Corner rounding — optional, but popular for diaries
- Quality inspection — every single stack is checked
I'll be honest with you: this is the most boring part of the workflow. But it's also the one that separates a premium notebook from a mediocre one. A 1mm misalignment on the cut is the difference between “this feels right” and “something's off.”
Most buyers don't notice it consciously. They just feel it.
Stage 5: Packaging & Dispatch — The Final Hurdle
You'd think packaging is simple. Put notebooks in boxes. Tape. Ship. But bulk orders come with their own headaches.
Let me tell you about Prakash. He's a distributor in Hyderabad, 52 years old, been in stationery for three decades. Last year, he got a shipment of 5,000 notebooks from a new supplier. Packaging looked fine. But the cartons were too thin. By the time they reached his warehouse in Secunderabad, the bottom cartons had collapsed under the weight. Damaged goods. Angry customers. He doesn't buy from that supplier anymore.
Here's what we do differently: we use 3-ply corrugated boxes for domestic, 5-ply for export. Every carton has a label with batch number, size, and quantity. We palletize and stretch-wrap for sea freight. It's not glamorous. But those notebooks arrive intact.
Sometimes I think the real skill in this business isn't printing. It's not dropping the box.
Frequently Asked Questions
What is the first step in an industrial printing workflow?
The first step is pre-press preparation. This includes file checking, color conversion to CMYK, bleed adjustments, and plate making. Skipping this leads to misprints and waste. Always request a physical proof before full production.
How long does the industrial printing workflow take for notebooks?
For a bulk order of 10,000 notebooks, the full workflow takes 10–15 working days. Pre-press takes 2–3 days. Printing and binding take about a week. Finishing and packaging add another 3–4 days. Rush orders are possible but quality can suffer.
What is the difference between offset and digital printing in the workflow?
Offset printing uses plates and is ideal for runs above 500 units. It's cheaper per unit and more color-consistent. Digital printing has no plates and works for short runs or variable data. For notebooks, offset is the standard choice.
How do I know if my print file is ready for the industrial workflow?
Convert all fonts to outlines. Set color mode to CMYK. Ensure 3mm bleed on all sides. Embed all images at 300 DPI minimum. If you're unsure, most manufacturers will check the file for you before plate making.
What binding is best for a bulk notebook order?
Stitched binding is best for durability in school notebooks. Spiral binding works well for corporate diaries. Perfect binding suits thick notebooks but needs good adhesive for hot climates. Tell the manufacturer your usage scenario for the best recommendation.
Conclusion
Here's what I want you to take away. First: the industrial printing workflow explained step-by-step isn't a mystery — but it does have traps. Second: don't assume your file is ready. Get a proof. Talk to the press operator. Ask about binding and packaging before you sign the order.
I don't think there's one perfect workflow for every job. There isn't. But if you understand the stages — pre-press, printing, binding, finishing, packaging — you'll ask the right questions. And that's half the battle.
If you're planning a bulk order and want to talk through the details, Sri Rama Notebooks has been doing this since 1985. We've seen it all. We can help.