Industrial Notebook Printing Workflow Explained for Buyers
You’ve been through it. You order notebooks for your school or office. The sample looked perfect. Then the bulk delivery arrives and the pages are thin, the cover curls, and the binding starts cracking within a week. Sound familiar? I’ve seen this happen more times than I can count.
Here’s the thing — the workflow behind notebook printing is not something most buyers think about. But it’s exactly where the difference between good notebooks and disappointing ones gets decided. The Industrial Notebook Printing Workflow Explained for Buyers starts here: understanding how paper, printing, and binding actually work together. Because once you know what to look for, half your problems disappear.
If this sounds like something you need, Sri Rama Notebooks has been doing this since 1985. We’ve seen it all.
The Printing Process Isn’t What You Think
Most buyers imagine a machine feeding paper, printing lines, then cutting and binding. It’s not that simple. The workflow has five critical stages, and skipping any one means trouble.
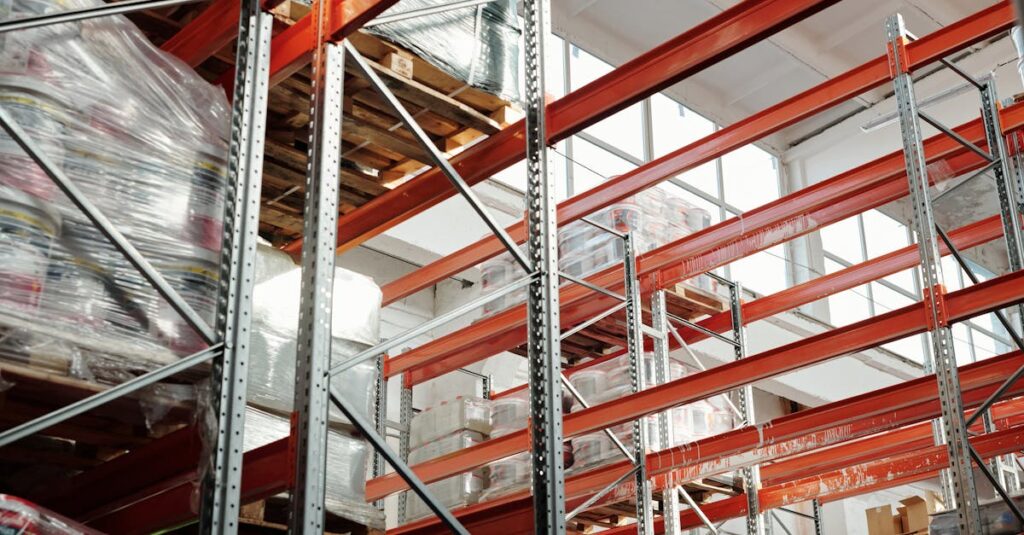
Stage one: Paper sourcing and conditioning. The reams sit in the factory for at least 24 hours before printing. Why? Paper absorbs moisture from the air. If you print on paper that hasn’t acclimatized, the ink behaves differently. Colors shift. Sizes change. And you end up with notebooks that don’t match.
Stage two: Pre-press. This is where your design — logos, ruled lines, margins — is prepared. Most factories skip proper color matching. They don’t print a proof. They just go ahead. That’s how you get a logo that’s supposed to be dark blue but turns out purple.
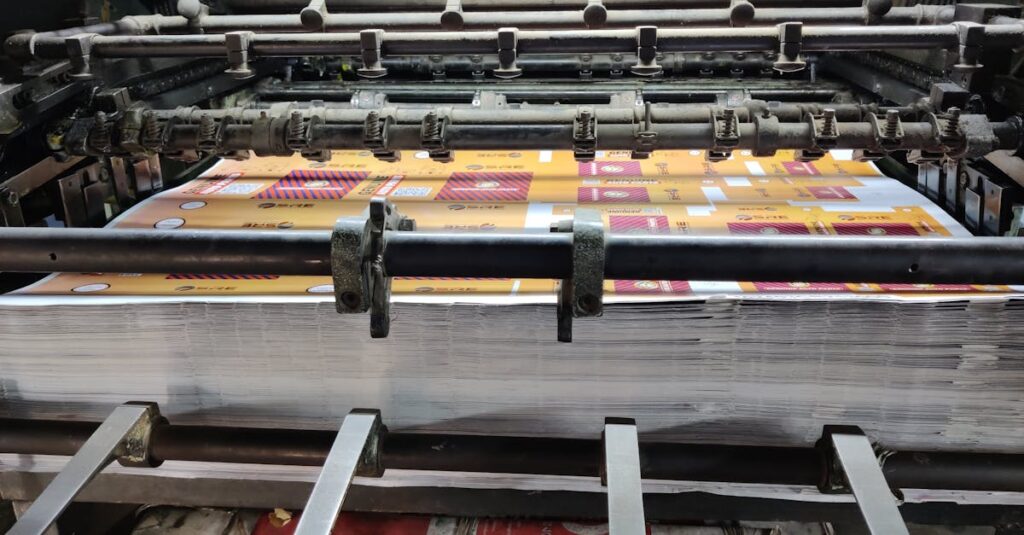
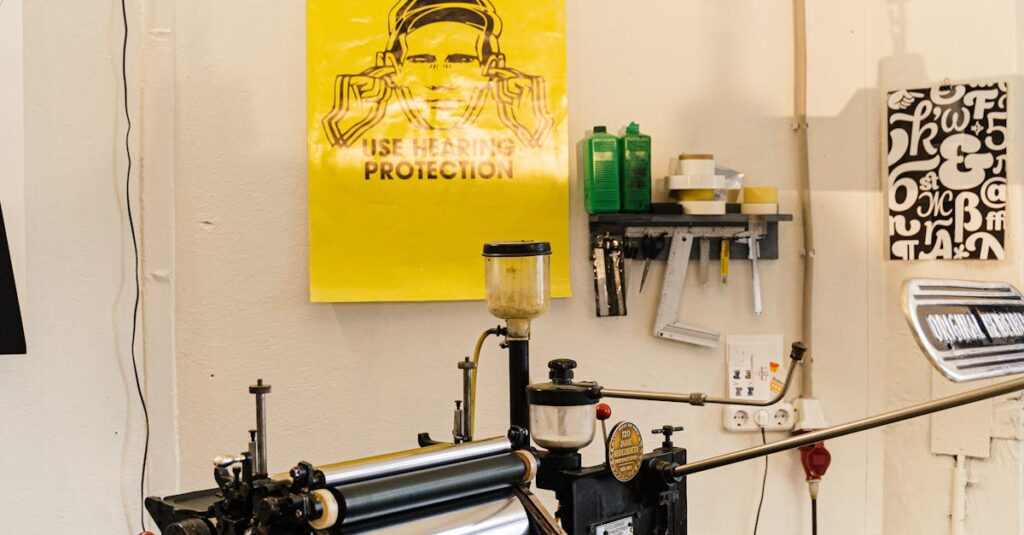
Stage three: Printing. Offset vs digital. I’ll get to that in a moment.
Stage four: Drying and cutting. This needs time. Rushed drying leads to smudging. Rushed cutting leads to uneven edges. Small mistakes that make your product look cheap.
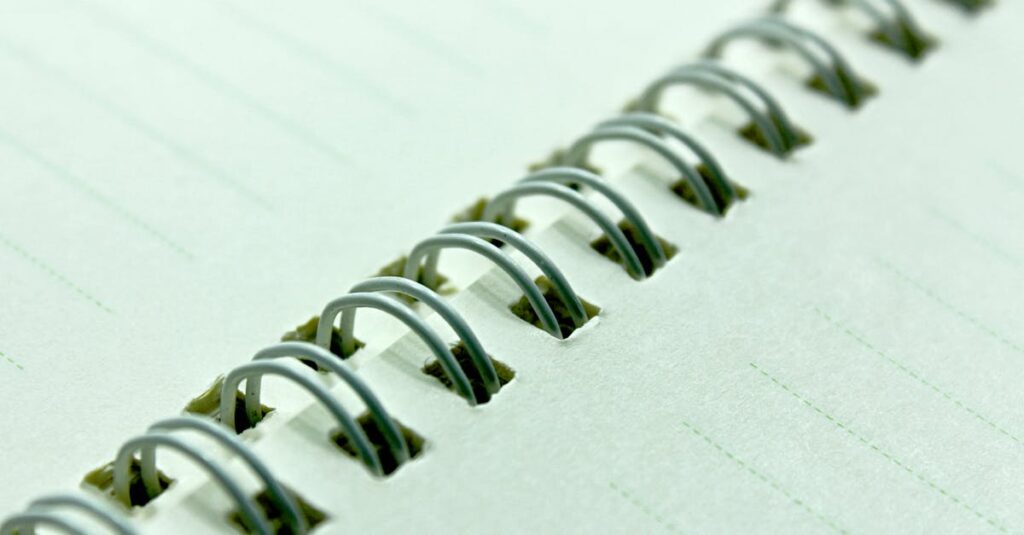
Stage five: Binding and finishing. Stitched, spiral, or perfect binding — each has its own workflow. And if the binding isn’t done right, the notebook falls apart after a few weeks.
The workflow isn’t a straight line. It’s a loop of checks and rechecks. And here’s what most buyers don’t realize: the factory that follows this workflow properly will cost a little more upfront. But that upfront cost saves you returns, complaints, and bad reviews down the line.
Paper and Printing: Where 90% of Problems Start
Look, I’ll be direct. The biggest issue I see in bulk notebook orders is paper quality combined with the wrong printing method. Let’s break it down.
Paper is measured in GSM — grams per square meter. For notebooks, the sweet spot is 54 to 70 GSM. Below that, the paper is too thin. Ink bleeds through. Writing feels flimsy. Above 80 GSM and above is great for covers or special notebooks, but adds weight and cost.
Printing methods matter even more. Here’s a quick comparison:
| Feature | Offset Printing | Digital Printing |
|---|---|---|
| Best for | Large runs (5000+ notebooks) | Small to medium runs (100–2000) |
| Color quality | Consistent, vibrant — but needs setup | Good, but can vary between runs |
| Cost per unit | Decreases with quantity | Fixed per page, no setup cost |
| Turnaround time | 2–3 weeks including setup | 3–5 days for simple jobs |
| Customization | Same design for all notebooks | Variable data possible (e.g., different names) |
| Durability | Ink bonds with paper, lasts longer | Good, but toner can crack on spines |
So what should you pick? If you’re ordering school notebooks with simple ruled lines and a one-color cover, offset is the way to go. If you need 200 custom diaries with foil stamping and individual names, digital is faster and cheaper per piece.
But here’s the real trick: ask your manufacturer how they handle paper conditioning before printing. If they look confused, run. I mean it.
Binding: The Difference Between a Notebook That Lasts and One That Falls Apart
I remember a conversation I had a buyer from a school in Guntur call me once. He’d ordered 10,000 notebooks from another supplier. Three months later, pages were falling out. He asked me what went wrong.
Expert Insight
I’ve been in this factory since I was a kid — our family started Sri Rama Notebooks in ’85. And I remember my father explaining binding to me one afternoon. He said, “The binding is the spine of the notebook. If it fails, nothing else matters.” He wasn’t being poetic. He was being practical. Stitched binding, for example, needs the thread to be strong enough and the stitching depth correct. If the machine is poorly calibrated, the staples won’t reach all the way through. Or they’ll be too tight and tear the paper. Spiral binding? The coil gauge has to match the hole size. Perfect binding requires a good glue that stays flexible when dry — not brittle. Most shortcuts happen here because it’s the last step and buyers rarely checked.
So when you’re comparing manufacturers, ask them about their binding QA process. If they can’t tell you how they test each batch, you’re taking a risk.
Customization: When Logo Printing Goes Wrong
Let me tell you about Ravi. He’s 34, works as a procurement manager for a chain of private schools in Vijayawada. He placed an order for 5,000 custom notebooks with the school logo on the cover. The sample was beautiful. The bulk delivery? The logo was crooked on every single notebook. Not just a little off — visibly tilted. The supplier said it was “within tolerance.” But Ravi’s principal rejected the whole batch.
This happens more than you’d think. Custom logo printing, especially on covers, requires precise registration. If the printer’s alignment is off by even 1mm, it shows. And most factories don’t check every sheet. They spot-check. Which means a misalignment can be bad before anyone notices.
What you can do: ask for a “production proof” — a sample printed on the actual machine that will run your job. Not a digital mockup. Not a hand-fed sample. An actual machine print. That’s the only way to see if the alignment holds up.
What Buyers Need to Check Before Placing an Order
If you take away nothing else, remember these three checks:
- Ask for paper GSM certification. Some suppliers claim 70 GSM but deliver 54. Weigh a ream if you can — the difference shows.
- Request a binding stress test. Take a finished notebook and try to tear out a page. If it comes out cleanly with no resistance, that’s a problem. Stitching should hold tight.
- Print a full production proof. Not just the cover — the inside pages too. Check margin alignment and color accuracy.
And honestly? The best thing you can do is visit the factory. If you can’t, ask for a video walkthrough. Any manufacturer worth their salt will show you their workflow. If they hesitate, that’s a red flag.
I know that sounds like a lot of work. But ordering 20,000 notebooks is a big investment. You don’t want to find out six months later that they were made on a machine that wasn’t even calibrated.
Frequently Asked Questions
Frequently Asked Questions
How long does the industrial notebook printing workflow take?
For a standard bulk order of 5,000 notebooks, expect 2–4 weeks from paper sourcing to finished product. Rush orders are possible but quality can suffer if corners are cut.
What’s the difference between offset and digital printing for notebooks?
Offset uses plates and wet ink — ideal for large runs with one design. Digital prints directly from a file, faster for small batches but cost per unit stays higher. Digital also allows variable data like student names.
Can I get a custom cover design in the industrial workflow?
Yes. The workflow includes prepress setup for your artwork. Make sure to provide high-resolution files (300 DPI) and specify Pantone colors if exact match is needed. A production proof is recommended.
What paper GSM is best for school notebooks?
54–70 GSM is standard for writing notebooks. It gives good opacity without being too heavy. For drawing or sketching, 80–100 GSM is better. Always confirm the actual GSM in your order contract.
How do I ensure my bulk order’s binding lasts?
Choose stitched binding for durability — it’s been used for decades. For spiral, check the coil material (PVC-coated steel). For perfect binding, ask about the glue type (hot melt vs PUR). PUR is stronger but costs more.
Conclusion
Look, the Industrial Notebook Printing Workflow Explained for Buyers isn’t some secret. It’s just a set of steps that many suppliers rush through. Paper conditioning, proper printing setup, careful binding — each stage matters. The manufacturers who respect this workflow produce notebooks that last. The ones who don’t produce headaches.
I don’t think there’s a perfect answer to finding the right supplier. But if you’ve read this far, you already know what questions to ask. The real question is whether you’ll ask them before placing your order or after the delivery fails. Your choice.
If you want to work with a team that’s been doing this since 1985, Sri Rama Notebooks is here. No hidden processes. No shortcuts. Just honest notebook making.