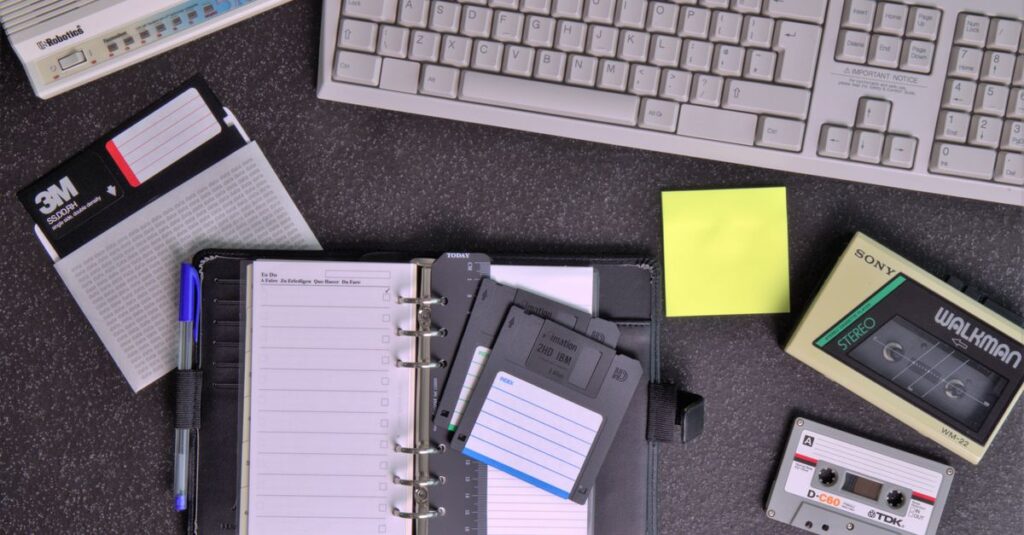
If you've ever ordered notebooks in bulk — for a school, a conference, a corporate event — you know the feeling. You pick a stock design. You slap a logo on. You hope it looks decent. And when the boxes arrive, you open one and think: This isn't what I imagined.
That's the gap between printing & designing done right versus done fast. I've seen it happen more times than I can count. And honestly, most of the blame doesn't fall on the printer. It falls on not understanding what goes into getting it right. If you're placing an order for a few hundred — or a few thousand — notebooks, Sri Rama Notebooks has some thoughts you should hear.
What Does Printing & Designing Actually Mean for Notebooks?
Here's the thing — people say "printing & designing" like it's one simple step. It's not. It's two separate worlds that have to collide perfectly. Designing means choosing the right layout, colors, fonts, and graphics for your cover. Printing means translating that digital file into ink on paper — without losing clarity, without color shifts, without misregistration.
Most of the time, the problem starts with the design file. A low-res JPEG, a missing bleed, text too close to the edge. I once had a client send a logo that was 72 dpi and expected it to look sharp on a notebook cover. That's not how it works.
Here are the common design elements you need to consider:
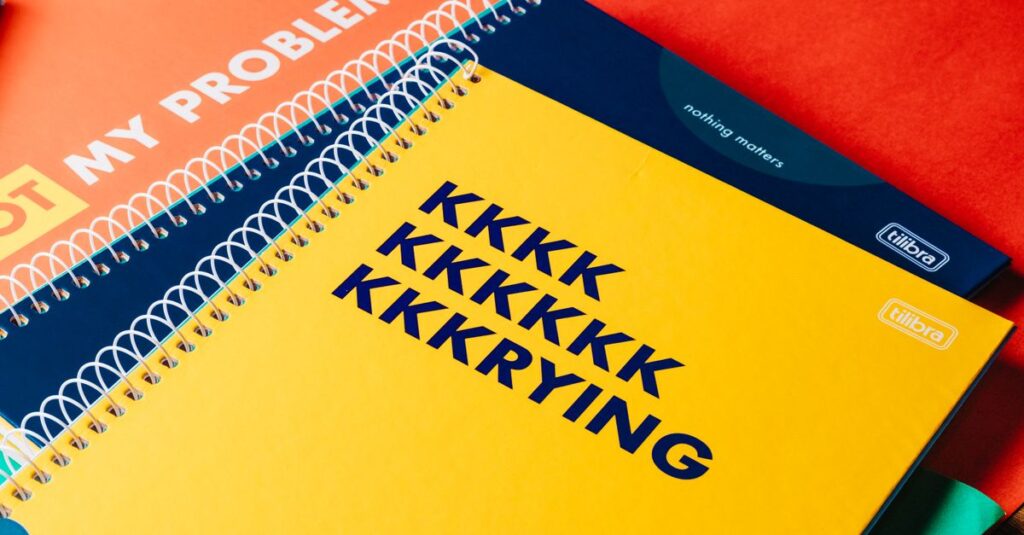
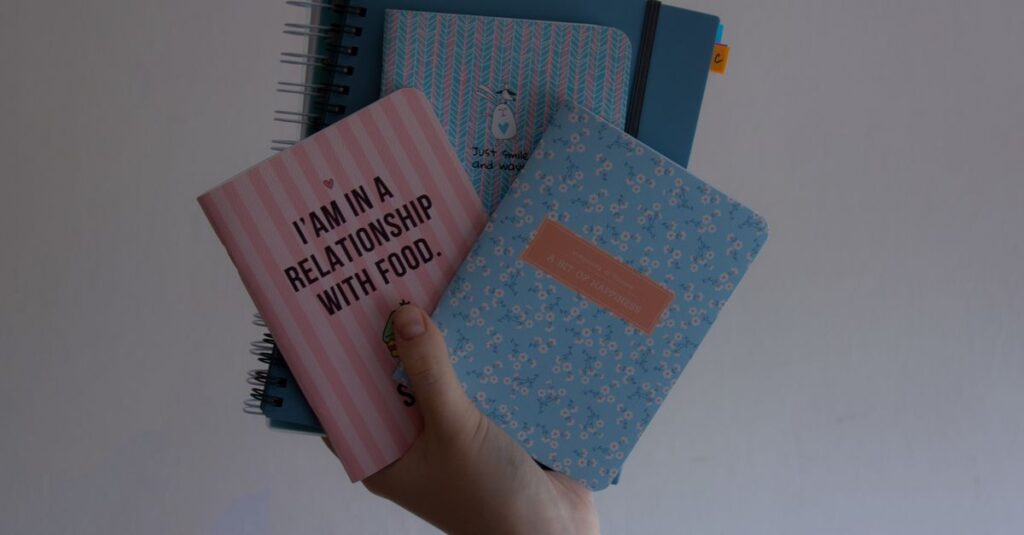
- Logo placement – centered, corner, or spine? Each affects readability.
- Text content – title, tagline, year. Keep minimal.
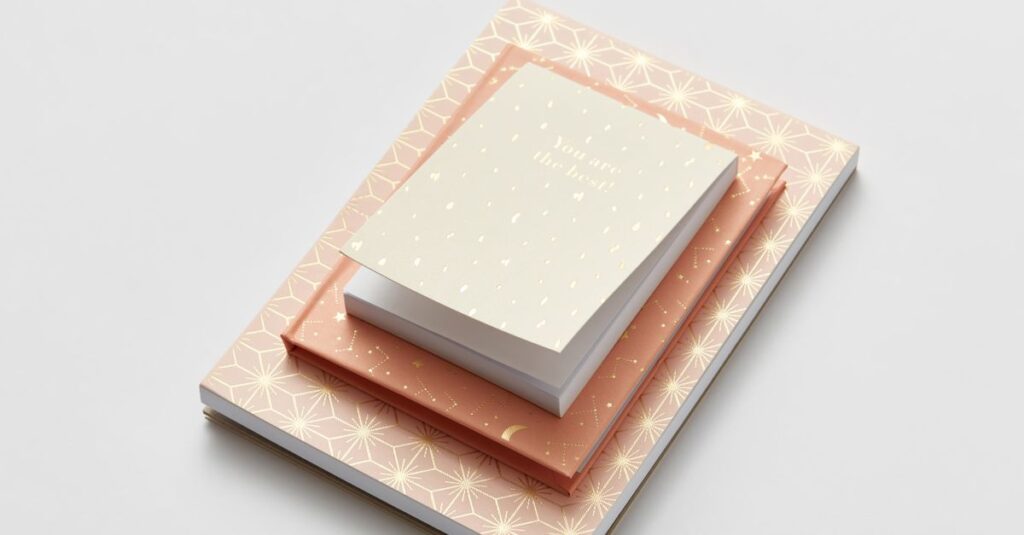
- Background graphics – full-bleed or bordered? Full-bleed looks modern but requires precise trimming.
- Colors – stick to 2–3 spot colors if possible for consistency.
And printing-wise, these are the methods we use:
- Offset printing – best for large quantities, sharp colors, consistent results.
- Digital printing – quick turnaround, short runs, but lower per-unit cost for small batches.
- Screen printing – for thick ink coverage on covers, like foil or spot colors.
One more thing — the paper matters. You can have the best design in the world, but if the paper is too thin or too rough, it'll look cheap. I'm not saying you need 300 GSM for everything. But matching paper quality to your design is something many buyers skip.
A Quick Story
Ravi, 34, procurement manager at a tech company in Hyderabad. He needed 5,000 branded diaries for a client conference. He sent us a beautifully designed PDF. But he didn't know that the metallic gold foil he wanted required a separate screen printing plate. When he saw the proof, the gold was missing. He was frustrated. I was frustrated. We fixed it — but it cost two extra days. That's the kind of detail that printing & designing covers. More than people realize.
Why Most People Get Printing & Designing Wrong
The biggest mistake? Assuming your design will look exactly like it does on your monitor. Screens use RGB. Printers use CMYK. Those are different color languages. What looks like a warm blue on your screen might print purple. I can't tell you how many times I've had to say, "That's not going to match."
Another mistake: not accounting for bleed. Bleed is the extra margin around your design that gets trimmed off. Without it, you get white edges. Looks sloppy. Nine times out of ten, the designer forgets.
Then there's font embedding. If your fonts aren't embedded in the PDF, the printer might substitute a different font. Suddenly your elegant title looks like Times New Roman. That's a disaster.
Here's a simple comparison table to help you decide between the two main printing techniques:
| Factor | Offset Printing | Digital Printing |
|---|---|---|
| Best for quantity | 500+ copies | 50–500 copies |
| Color accuracy | High (Pantone matching) | Good, but less precise |
| Setup cost | Higher (plates needed) | Low (no plates) |
| Per-unit cost | Decreases with volume | Fixed regardless of volume |
| Turnaround | 5–10 business days | 1–3 business days |
I remember a client once insisted on digital printing for 10,000 notebooks because he thought it was faster. It wasn't. The cost per unit was almost double offset. That conversation was… uncomfortable. But you learn.
Expert Insight
I was talking to our print supervisor last month — he's been here since the 90s — and he said something I keep thinking about. "People don't realize that designing for print is like cooking for a crowd. You can't just multiply ingredients. The whole process changes." He's right. You can't just take a digital design and hit print. You have to plan for the medium. And if you don't, the result is… disappointing. That conversation stuck with me because it's so true. I've seen beautiful designs butchered by poor preparation.
How to Plan Your Printing & Designing Project
Alright. Let's say you have a bulk order coming up. Here's the process I'd follow — and what I've learned from thousands of orders.
- Define the purpose. Is this for students, executives, or giveaways? It changes everything: size, paper quality, cover finish.
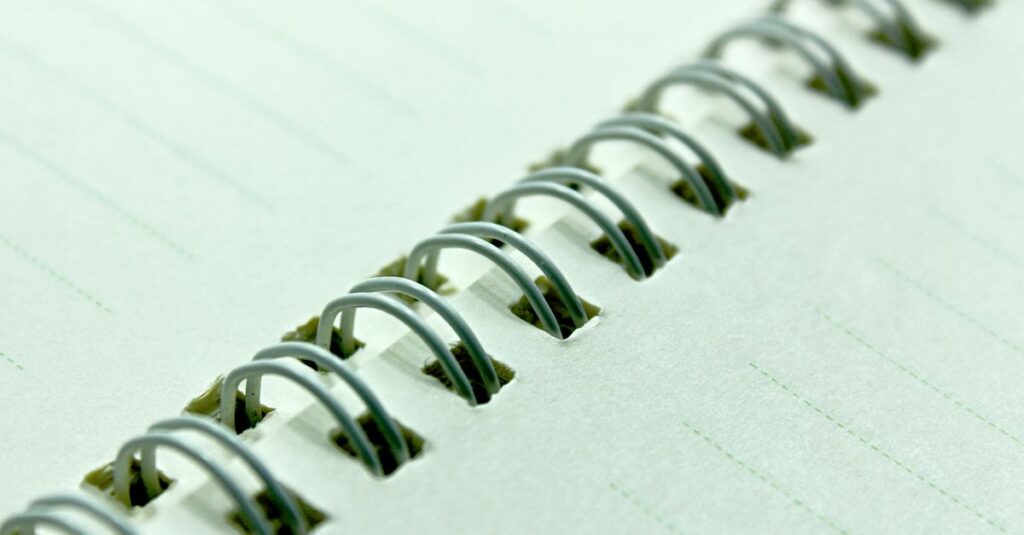
- Choose the size and binding. King, Long, A4, A5? Stitched, spiral, perfect? Each affects how the design sits on the cover and spine.
- Prepare your artwork. High-res (300 dpi minimum), include bleed (3mm all around), use CMYK color mode, embed fonts. Save as PDF/X-1a if possible.
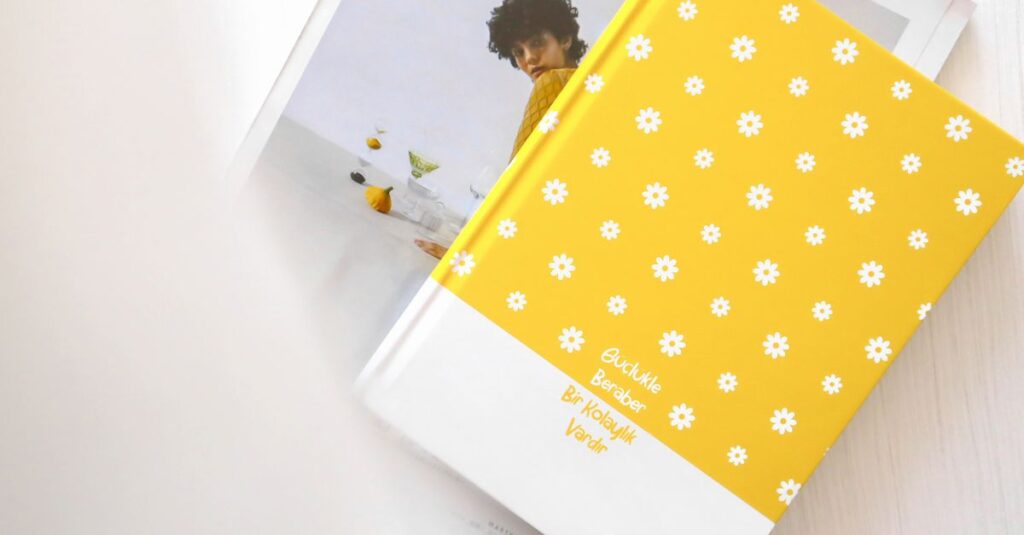
- Decide on finishes. Matte or gloss lamination? Embossing? Foil stamping? These add cost but also increase perceived value significantly.
- Request a physical proof. Always. Even if it costs extra. What you see on screen is not what you get. I've saved countless clients from disappointment this way.
- Check the spine. For thick notebooks, the spine width matters. Text or logo on the spine needs to be centered correctly. Many designers forget this.
I've seen companies skip step 5 and end up with thousands of notebooks they can't use. One hospital ordered 10,000 prescription pads with the wrong crop marks. The entire batch was scrapped. That's a headache no one needs. Plan ahead, ask questions, and don't rush the artwork stage.
What We at Sri Rama Notebooks Have Learned About Printing & Designing
We've been doing this since 1985. That's forty years of watching designs come in and go out. Some brilliant. Some.. not. Here's what I'll tell you straight: the companies that get the best results are the ones who involve us early. They don't treat us as just a printer. They ask questions. They send mockups. They want to know what works.
I remember a school in Visakhapatnam that ordered custom notebooks with their logo and school colors. They sent a design that used 12 different spot colors. We explained that would be expensive and hard to reproduce consistently. They simplified to three colors — and the result looked cleaner and cost half as much. That's the kind of conversation that makes a difference.
Look, I'm not saying every order goes smoothly. Far from it. But the ones that do — they share one thing: attention to the details of printing & designing. It's not glamorous. It's not exciting. But it saves money and disappointment.
We offer custom printing services that cover everything from simple monochrome logos to full-color foil stamped covers. We've done for schools, for Fortune 500 companies, for startups. The process is the same. The care is the same.
Frequently Asked Questions
What file format should I submit for printing & designing?
PDF is safest, especially PDF/X-1a. If you can't, use high-resolution TIFF or EPS. Avoid JPEGs — they compress and lose detail. Always include bleed and crop marks.
Can I print a full-color design on both cover and back?
Yes. Most offset printers can handle full-color on both sides. However, it adds cost and may extend turnaround. Ask for a quote that includes both sides.
How long does printing & designing take for a bulk order?
Typically 7–10 business days after artwork approval. Rush orders can be done in 3–5 days, but we need clean files and realistic expectations. Plan ahead.
What's the difference between spot color and CMYK?
Spot color (like Pantone) uses a pre-mixed ink for exact color matching. CMYK mixes four inks to create colors. For logos with one or two specific colors, spot is better. For photos, CMYK is standard.
Do you offer design assistance for clients who don't have a designer?
Yes. We can help with layout and file preparation, but we recommend using a professional designer for complex projects. We charge a small fee for design work, but it often saves larger costs later.
So Where Does That Leave Us?
Three things I want you to take away. One: printing & designing is not magic — it's a process with clear steps and common pitfalls. Two: talk to your printer before you finalize your design. Not after. Three: always get a proof.
I don't think there's a perfect formula. Every order is different. But if you've read this far, you already know that getting it right matters. The question is whether you'll take the extra steps to make sure it happens. Maybe you will. Maybe you won't. But we're here if you do.
Sri Rama Notebooks — notebooks, diaries, and custom printing since 1985. Call us at +91-8522818651.